Just before Christmas 2022, we had a rare very cold spell (-10 C) here in Vancouver, accompanied by heavy snow.

After the snow melted enough so I could travel, I went down to check on the boat. At first, all seemed okay, but I opened up the small bilge hatch near the galley, and observed about a centimeter of greenish/yellow water. It looked like coolant to me. Because the bilge is quite flat, even a small depth of water can indicate considerable volume. I got out my dockside bilge pump, a small wet/dry vacuum cleaner, and vacuumed up all the liquid I could find, which amounted to about 2 liters. The last time the engine had been used, it ran fine, and no overheating occurred.
My first thought was that the coolant had frozen and split a hose, or popped a frost plug, even though there was a small heater running all the time. However, I couldn’t find any evidence to support that theory. all hoses were intact, as were the frost plugs. Then I checked the coolant level in the engine, expecting it to be very low. To my surprise it was full right up. Some detective work ensued. The first thing I did was stick a finger in the coolant and taste it. Now I know some of you find the idea repugnant, but honestly, it is unlikely to be severely toxic in the single drop I tasted. It was salty!
So somehow, saltwater had displaced the coolant, forcing it out the overflow. My first though was a hole in the heat exchanger. However, I remembered 10 years or so ago, experiencing low coolant, and steam coming out the exhaust. THAT was caused by a hole in the heat exchanger.
This was the opposite. A known problem on Volvo Penta MD2010, MD2020, and MD2030 diesels, usually causing overheating, is a plugged inlet to the exhaust elbow. This restricts the flow of cooling water. I reasoned that, if the cooling elbow was plugged, sufficient pressure on the saltwater side could force raw water through a hole in the heat exchanger into the fresh water reservoir.
I drained the system by removing the bottom hosed for the circulating pump. First I squashed the hose with the illustrated vise-grips, and loosened the hose clamp. The hose slipped off easily and I caught the water in a plastic tray as shown. Then I poured fresh water into the top until it ran out completely clear.

Once done flushing, I shut off the intake thru-hull and removed the rubber boot from the front of the heat exchanger by loosening the two large hose clamps. I left it attached to the hose from the water pump. Then I loosened the same clamps on the back end of the exchanger, and attempted to pull it out. It didn’t come easily so I left it in place.
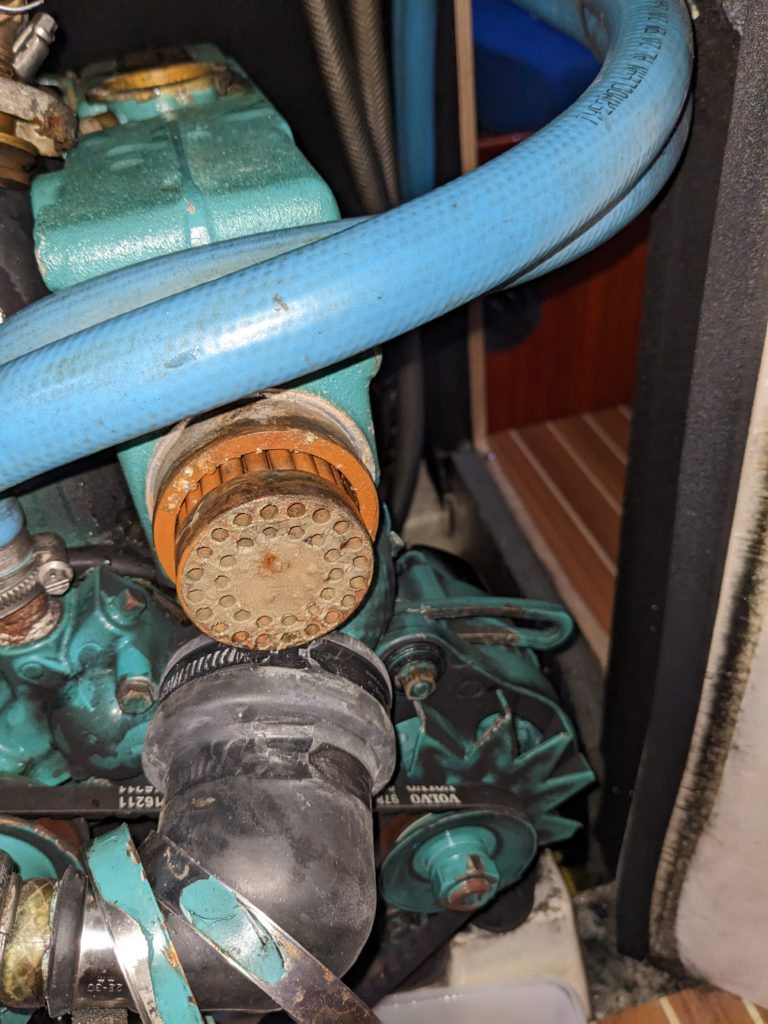
The next step was to remove the exhaust elbow. I first removed the aft end of the engine box, held in with 4 screws, to gain access and a clear view of the rear of the motor.
Using a 12mm socket on a 3/8″ drive with extension, 3 of the 4 of the nuts holding the elbow in place came loose fairly easily. The last one, upper and to port, wouldn’t budge, and I rounded the corners trying. There followed a three day effort trying various things to get it loose. What didn’t work was penetrating oil, a ring wrench, a nut splitter (the nut was shallow and the splitter kept jumping off) and a heat gun/paraffin wax. What finally worked was heating the nut very hot with a propane torch, and using a special nut extractor socket, which had to be hammered on to the damaged nut.
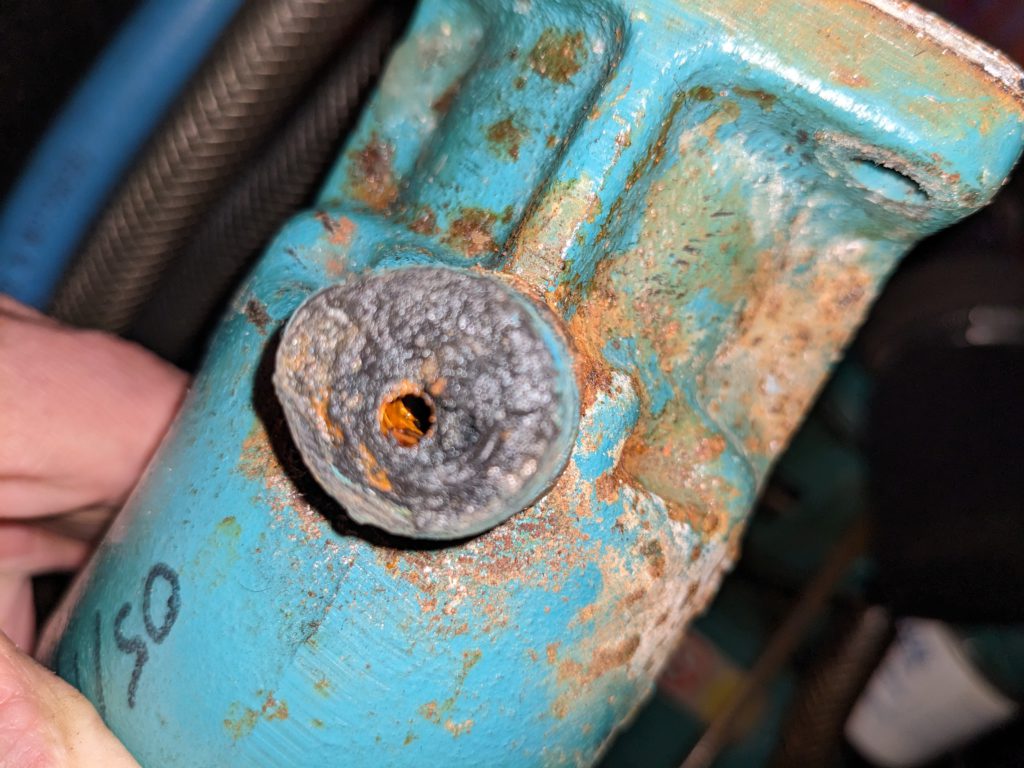
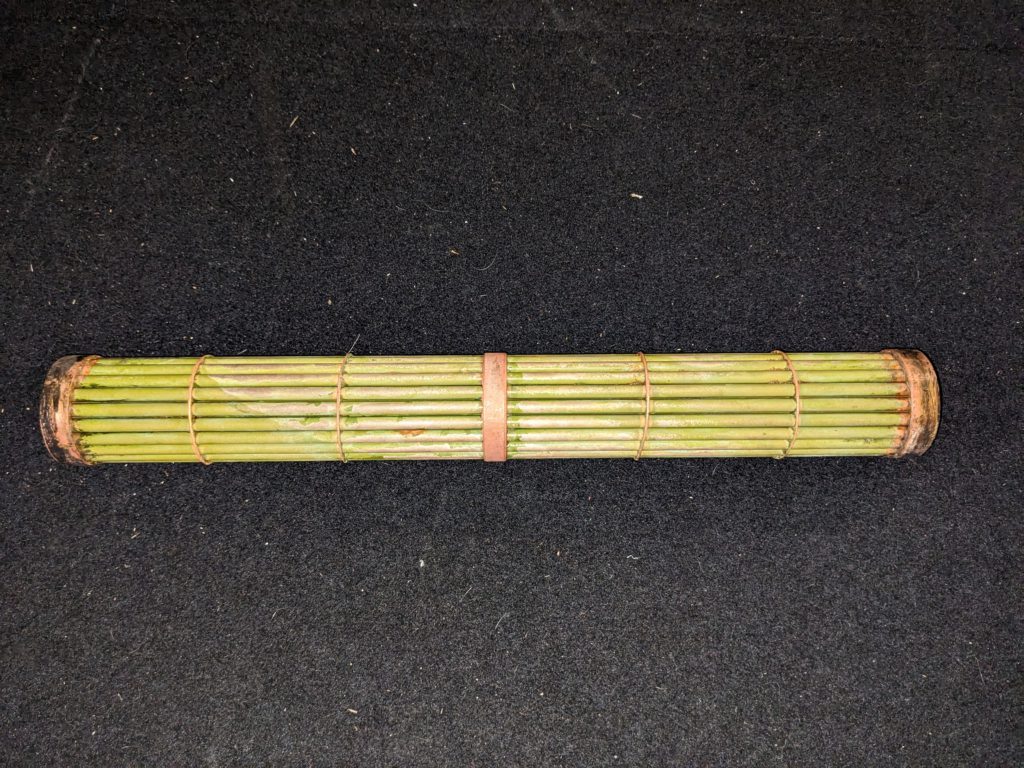
The elbow, when finally removed, was completely plugged. It came off with the rubber boot, at which point I was able to extract the cylindrical heat exchanger element. I took it to an automotive radiator shop for pressure testing and cleaning. Ther wasn’t much scale in it, and it passed the pressure test. I was happy, because a new element is about 1300 CDN.
In searching the internet for a new elbow, I found Parts4Engines in the UK, and an America company called HDI both offered aftermarket stainless steel parts. I ordered one from Parts4Engines, and it arrived in 4 days via DHL. It is a thing of beauty! The box said HDI, so I suppose the UK and the US are sourcing the same part. Prices were close, so I have no complaints.

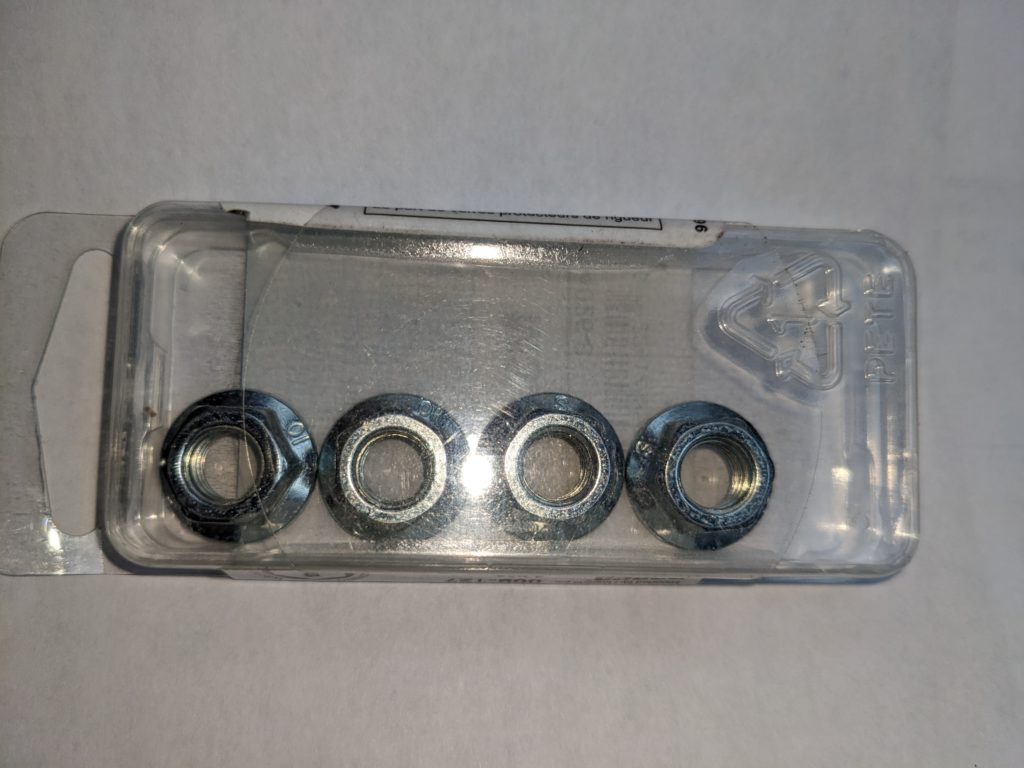
Once the parts were on hand, the reassembly went as follows:
- Grease the end and middle rings of the heat exchanger element with silicone grease. This is to help it slide into place easily.
- Slide the heat exchanger element into the housing, allowing equal amounts to extend out on each end.
- Make sure the exhaust elbow seat is clean and dry. My old elbow gasket came off in one piece and left no residue, but I have seen pictures of other having to be scraped off.
- Lubricate the seating areas of the rubber boat with silicone grease.
- Attach the aft rubber boot to the elbow. Don’t tighten the clamp until everything is together.
- Make sure all three hose clamps are in place on the boot.
- Apply anti-seize lubricant to the studs for the elbow.
- Slide the new gasket into place. I put a little grease on it to hold it in place.
- Connect the exhaust hose to the elbow. This will help hold it during assembly.
- Slide the assembly of the elbow and boot into place, while holding the forward end of the element in place. The element should seat firmly in the narrower portion of the boot.
- Put the nuts on the studs and tighten them finger tight.
- Using a 12MM socket and 3/8″ drive ratchet with extension, tighten the nuts. Don’t go crazy with force, you may have to get them off again sometime!
- Tighten the hose clamps on the rubber boot, making sure the boot is on fully at both ends, and the exchanger element is fully seated.
- Move to the front of the engine, grease the inside of the rubber boot, and slide it in place with the clamps on.
- Tighten the clamps.
Once everything is assembled, make sure the lower hose on the water pump is back on.
Fill the cooling system with plain water. Open the inlet sea cock and start the engine. Do a visual check for leaks. Run the engine at 1500-2000 rpm in neutral for a few minutes. Then shut down.
Recheck all bolts and hose clamps for tightness. If you removed the relay box near the elbow, reinstall it.
Assuming no leaks, drain and flush the freshwater system again, then fill with coolant. I used a small funnel and a piece of clear tubing for this. Be careful not to overflow the tank.
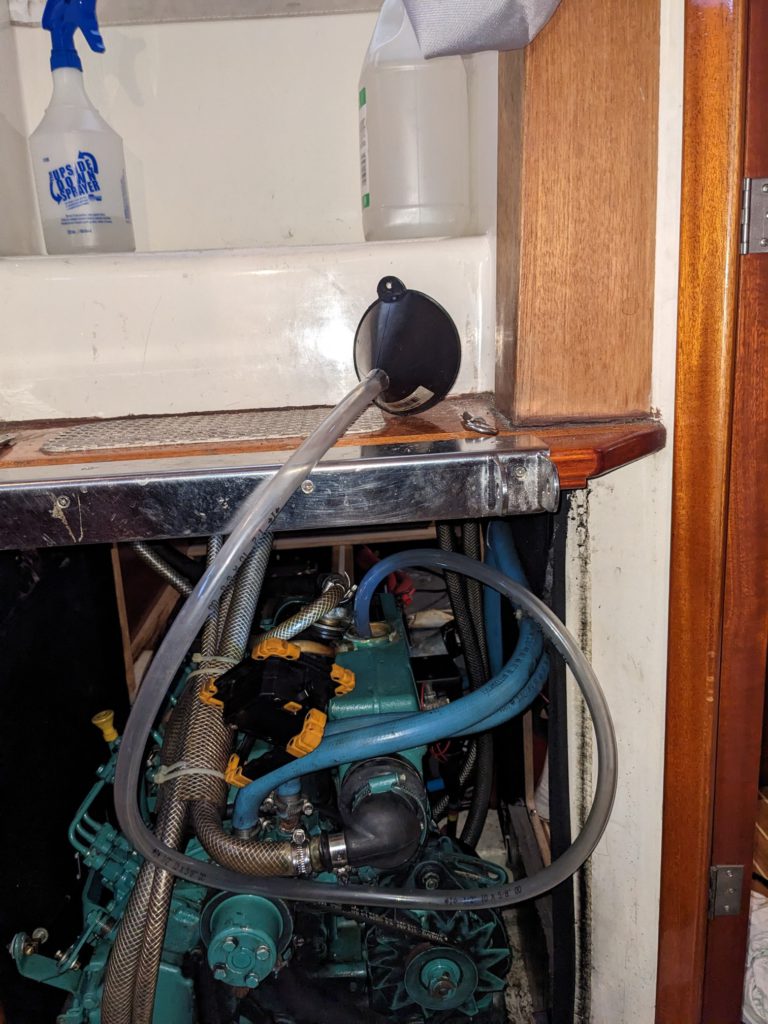
You should be good to go!
After a full season of us, all is well. No leaks and the exhaust has plenty of water flow.
Hey, great article, thanks!
I wanted to ask, do you think that draining the coolant by removing the pump hose as you did (as opposed to remove the square nut, hard ro reach on the engine starboard side) allows for all coolant to flow out?